
Creating a staging site is essential when you need to test updates or new features without risking the stability of your live site. However, not everyone has server access to clone their live site into a staging environment. Fortunately, there’s a solution that doesn’t require server access or a new database: the WP Staging plugin. Here’s how to use it to create a staging site in a subdirectory of your live site.
Step 1: Install WP Staging
- Download WP Staging: Start by downloading the WP Staging plugin from WordPress.org.
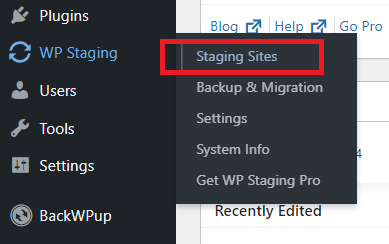
- Activate the Plugin: Once downloaded, activate the plugin on your WordPress site. Upon activation, a new option menu will appear in your WordPress backend.
Step 2: Create Your Staging Site
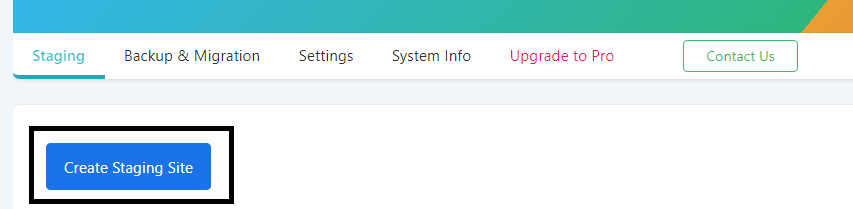
- Initiate the Creation: Click on the “Create Staging Site” button found in the new options menu.
- Enter Staging Site Name: You’ll be prompted to enter a name for your staging site. This name determines the subdirectory’s path. For example, naming your staging site “staging” will create the URL path
example.com/stagingfor your staging environment.

Step 3: Access Your Staging Site
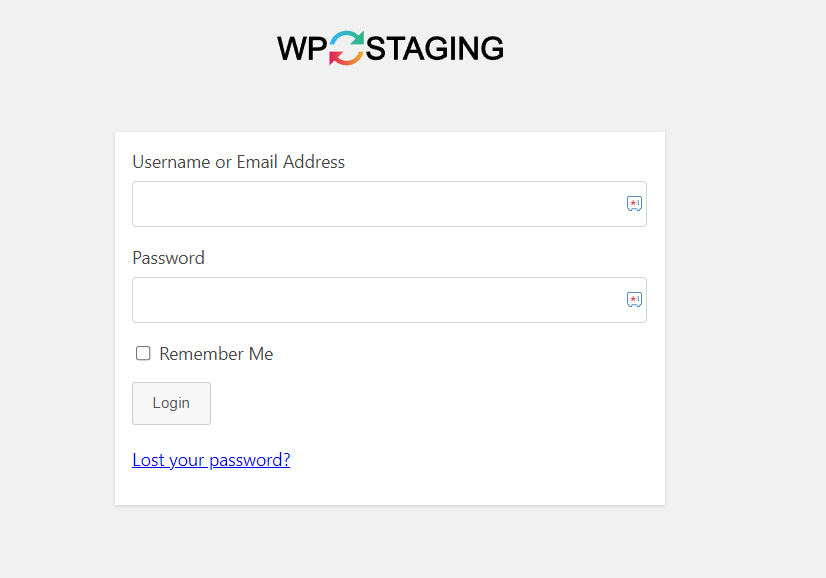
- Complete the Cloning Process: After the cloning process is finished, navigate to
example.com/staging. Here, you will need to log in using the same username and password as your live site to access the staging environment.
The WP Staging plugin cleverly uses the same database as your live site but with a different prefix, eliminating the need for a separate database. This method offers a straightforward way to set up a staging site without needing direct server access, making it an excellent solution for WordPress users who need to safely test changes.