
Create subdomain on cPanel
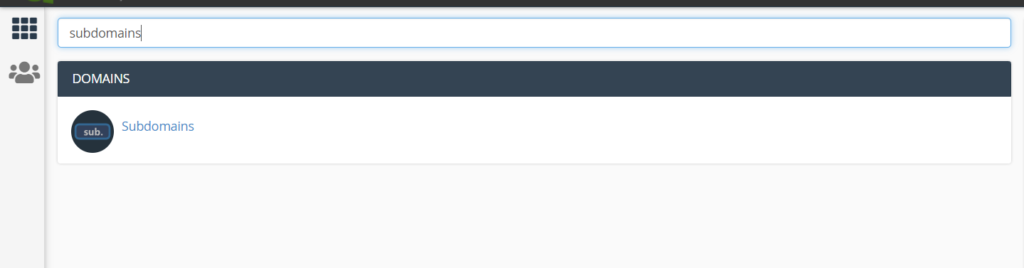
First thing you will need to create new subdomain your cPanel, go to you cPanel account select subdomains section
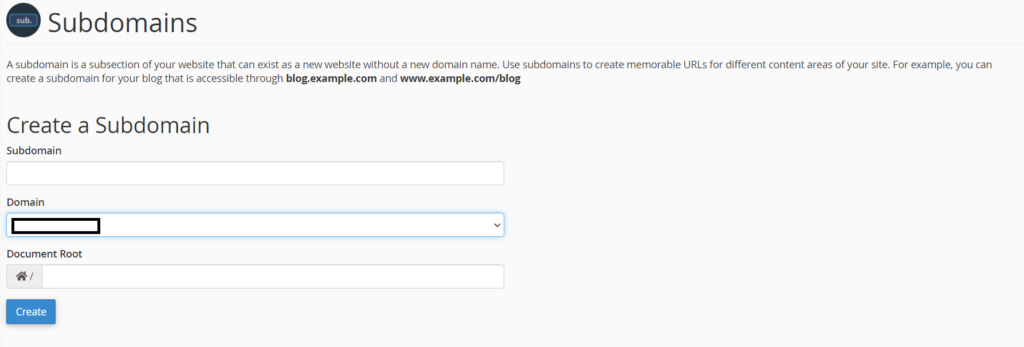
Fill your desired subdomain i.e. test.devspaceblog.com, and your desired path where you will host your Laravel project files i.e. if you wish to host your project files in test folder then you should use test/public in Document root field.
Upload Laravel project to cPanel.
Go to you Laravel project on you local machine, zip you Laravel project, use file manager to open root folder of your Laravel project, upload the zipped file to your Laravel root folder i.e. /home/test.
After that unzip the file to the root path of Laravel project, the root of Laravel project should now something like below screenshot.
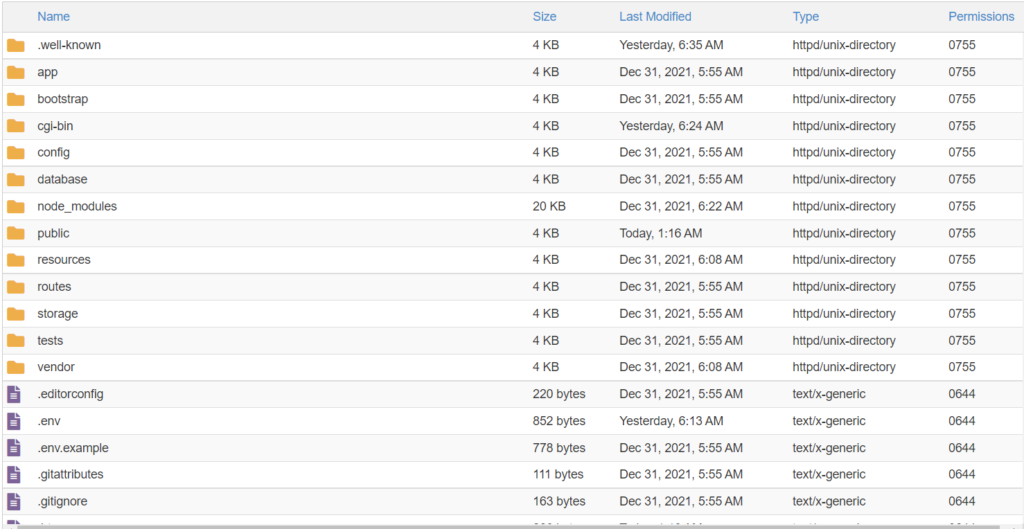
Laravel project structure on cPanel.
Export/Import database.
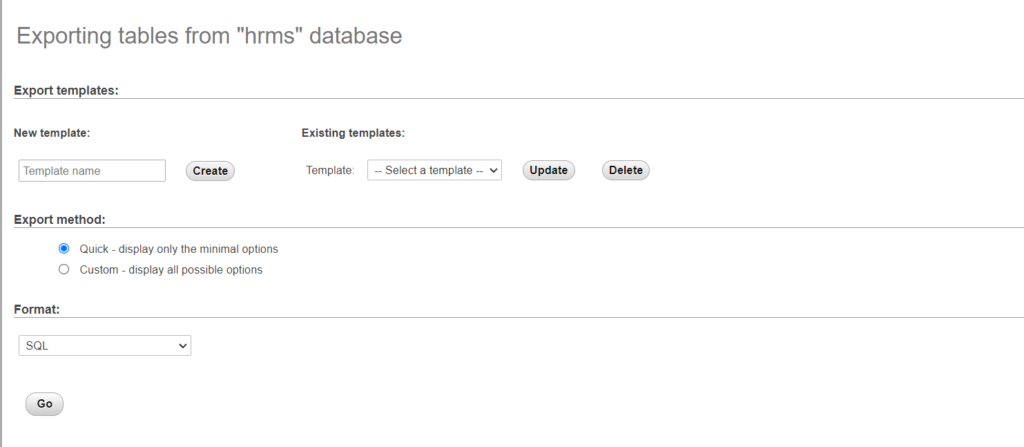
You will need to go to your local host phpmyadmin > your project database and use the export option there.
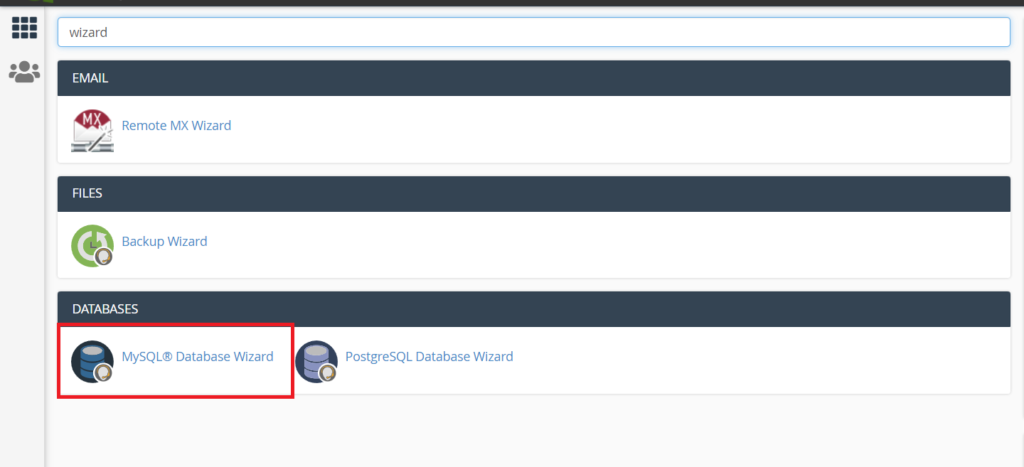
After that you should go to your cPanel > MySQL Database Wizard, follow the steps to create your database and your database user.
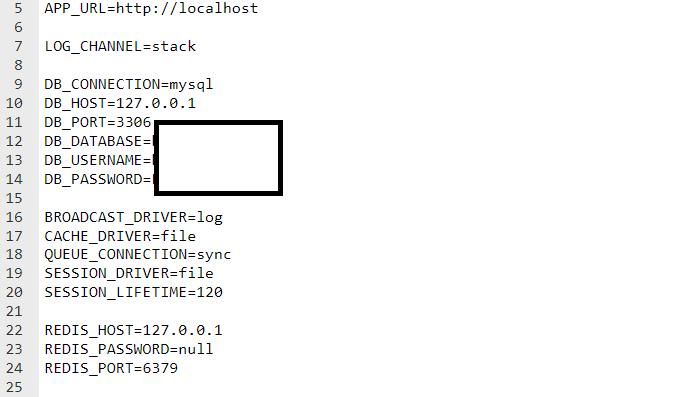
Now go back to your file manger in cPanel open your project root, edit .env file.

Your should update these values, DB_DATABASE, DB_USERNAME, DB_PASSWORD, you should know these values from previous step.
Now you should be able to visit your subdomain i.e. test.devspaceblog.com.
Thanks.
This is perfect
Thank you!
Good blog. but I don’t think this is complete
I agree with you